My Parents Bitwarden Guide
Table of Contents
- What are Password Managers
- Create your Bitwarden Account
- Add New Items
- Using the Auto-Fill Feature
- Update your Existing Accounts
- Bitwarden on your Mobile Device
Introduction
Hello, I wrote this blog post specifically to assist my mom and dad with switching from remembering passwords to Bitwarden. Rather than manually walking each of them through a manual process, I decided it best to create a step-by-step guide. This is also a better method for convincing them to switch over to a password manager willingly. I hope this article helps someone finally decide to become more secure.
What are Password Managers
Passwords are a necessity for keeping your online accounts and activity secure; However, research has shown that people utilize insecure practices when it comes to creating and maintaining their passwords. This includes choosing passwords based on personal significance, passwords short in length, simple passwords, reusing passwords, and writing their passwords down12. Using complex passwords is not the problem, it is the number of passwords that tends to increase the odds of forgotten and mixed-up passwords; Therefore, to circumvent this a password manager can be introduced to minimize the end-user’s efforts and improve their general security posture.
A password manager is an application that will store and generate complex passwords for you. This means we (the end-user) do not have to struggle with remembering a multitude of complex passwords or worry about password re-use. Instead, the user only needs to remember a single ‘master’ password for their Bitwarden account.
Bitwarden
Bitwarden is an open-source (free), meaning the source code is publicly available, password manager. To get slightly into the technical side of things Bitwarden uses end-to-end encryption for all data stored within your account’s vault. Only your account’s set email and master password combination can decrypt the vault’s content. Additionally, all data stored on Bitwarden servers are encrypted and hashed. I highly recommend reading through Bitwarden’s “Vault Security in the Bitwarden Password Manager” article to gain a better understanding of how your data is being protected.
Create your Bitwarden Account
The first step to getting started with Bitwarden is to create an account. Navigate to Bitwarden’s homepage and select the “Get Started” option in the top right corner.
Fill out the input fields accordingly. Keep in mind that if your Bitwarden master password is compromised then so is every account’s password stored in your vault. You only need to remember this single password, which isn’t so bad as having to remember multiple. Therefore, when choosing a master password make this as secure and complex as possible. One can and should add 2FA (Two-Factor Authentication) to their Bitwarden account. With 2FA even if our master password is somehow compromised an attacker will not be able to access our vault. I walk through setting up 2FA later in this blog post.
Choosing your Bitwarden Application
After creating our Bitwarden account we should choose how we want to use the password manager. I use the Bitwarden web application in combination with their browser extension. Note, that I will be using Firefox throughout this blog post, but the same steps can be repeated on Chrome, Safari, Opera, Brave, etc.
Use the “Web Application” hyperlink above to access Bitwarden’s vault page and log in to the service with your newly created account. Once logged in you are directed to your Bitwarden vault where all your created passwords will be stored. Reference the images below for a screenshot of my vault in the web application and desktop versions.
 Bitwarden Web App Vault Dashboard
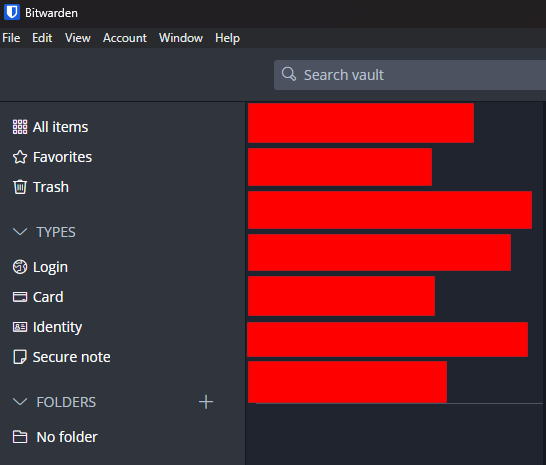 Bitwarden Desktop Vault Dashboard
You will be logged out of your vault given a certain period of inactivity, which is determined by the time since interacting with Bitwarden NOT system idle time. Therefore, you do not have to worry about people accessing your vault’s auto-fill feature if you leave your computer running. Read through this article to find out how to adjust this timeout feature.
Add New Items
Bitwarden calls a newly added account and password to your vault an item. Since you have just created your Bitwarden account there will be no items shown in your vault. The goal is to switch our existing accounts to use a generated password. Scroll down to the “Update Your Existing Accounts” section for a walk-through to update your existing account passwords. Creating a new account on any web application or service with Bitwarden is a straightforward process.
Bitwarden Browser Extension
First, install Bitwarden’s browser extension for your respective browser. I have listed direct links to Firefox, Chrome, Safari, and Microsoft Edge below.
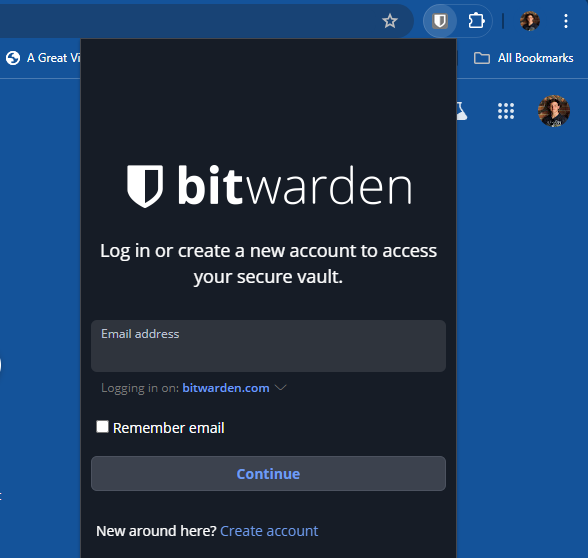 Chrome Bitwarden extension logon
Once the extension has been added to your browser select it and log in to your vault with your email and master password. Once you have created items for your vault they will appear in this dashboard.
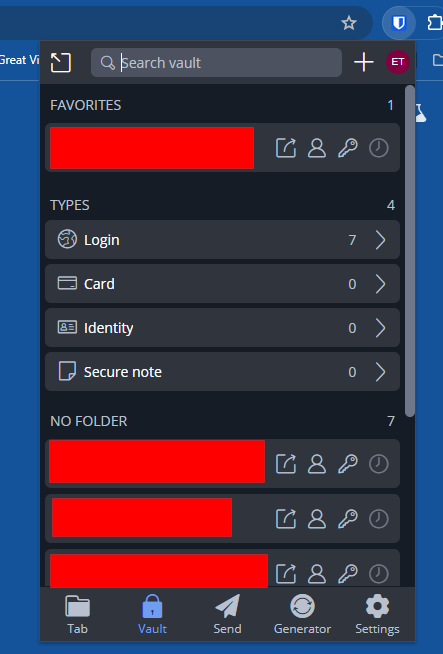 Bitwarden Browser Extension Vault
Create the Item
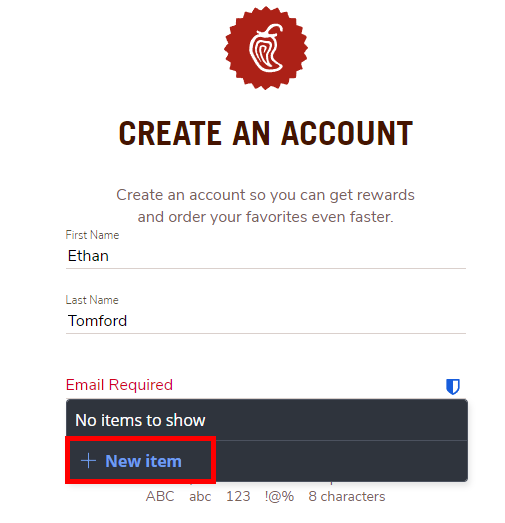
To walk through adding an item to your Bitwarden vault I am creating an account on Chipotle. Note, that these steps may vary slightly depending on the service or application, but generally it will be the same. Start to create a new account on the desired service and fill out the necessary information. Then when it comes to entering your email or password you should see a Bitwarden pop-up box. Select the “+ New Item” option to begin creating a new item. An “Add Item” box should now show up to create an item in our vault.
Generating Item Password
Change the “Name” field to something specific related to the service. If you have multiple accounts for the same service then creating unique names will help in identifying which one you need. In this case, the username is my email address, but depending on the website this could be an actual username. For the password field select the “Generate Password” option.
 Bitwarden Generate Password Option
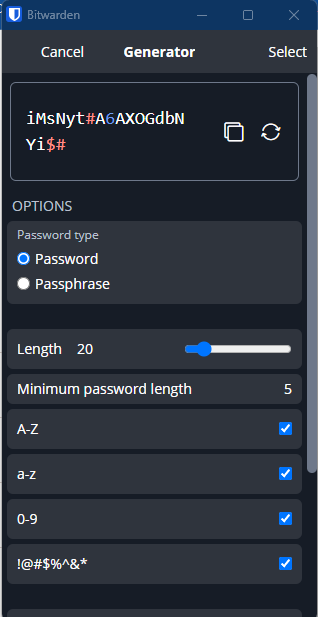
From there you can choose to tailor your password to the specific requirements of the service. You can adjust the length, capital or lowercase letters, numbers, and special symbols. In this case, Chipotle requires a minimum of 8-characters. I recommend setting a password of 20 characters or more with all the complexity options available if the site allows for it. Reference the screenshot below for an example of a generated password.
Additionally, for more important accounts such as emails or banks, you should enable the “Master password re-prompt” option which prevents Bitwarden’s auto-fill feature without having to enter the master password. For my Chipotle account I will leave this option not selected.
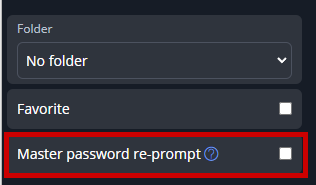 Re-Prompt for Master Password Option
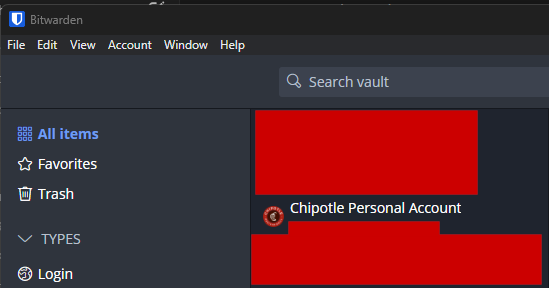
Once the service’s information has been filled out click “save” to create the item in your vault. The item will now show up in your Bitwarden vault dashboard.
Using the Auto-Fill Feature
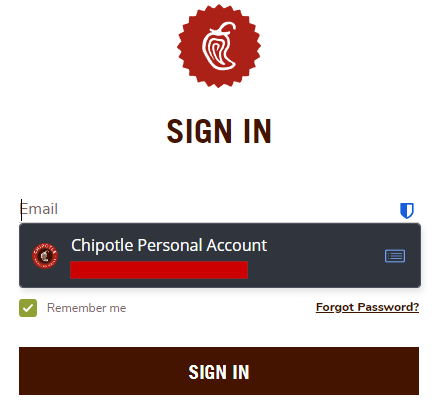
Once you have successfully created an item for an account in Bitwarden we can utilize them to auto-fill our logins. To accomplish this from your browser navigate to the service you wish to login to. When selecting one of the login fields for the service we should see our previously created item show up. Select the desired item and it will auto-fill our password and username. We can then successfully login to the service.
Update Your Existing Accounts
The main goal when using the password manager is to switch all, or at least your important, accounts to use Bitwarden’s generated passwords. Since each service or application has a different password reset method this is a manual account-to-account process. Changing your old passwords to Bitwarden requires you to either use the forgot password feature or the service’s built-in change password feature. Reference the following below for a demonstration for both options below.
Change Password Feature
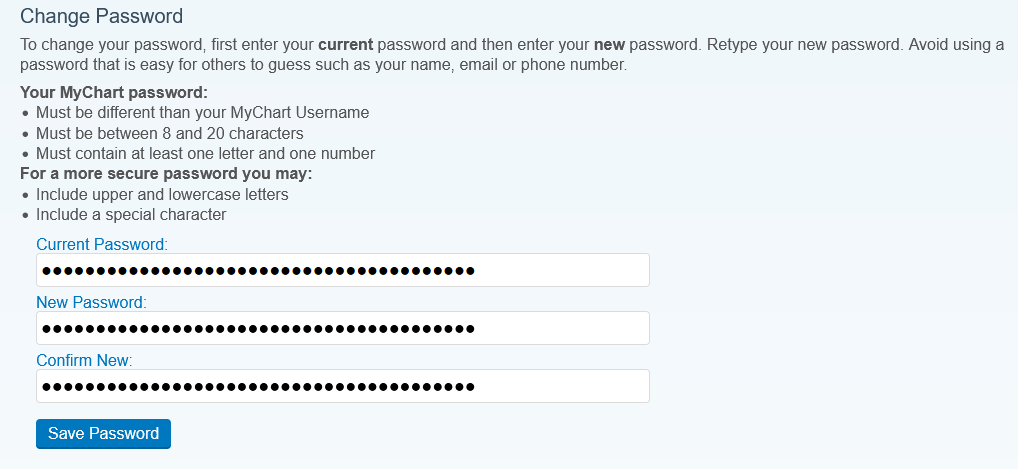
When are already logged into the existing account all you need to do is navigate to the service’s change password setting. Bitwarden’s auto-fill feature will enter the generated password into all of the password fields. Therefore, the easiest way is to first click within the “New Password” field and select the “+ New Item” option. Enter the item’s name and username, and generate a new password.
Once the item has been created use the auto-fill feature. Then delete the new password from the “Current Password” field and enter the account’s existing password. Finish by selecting “Save Password” and your account is now updated.
Forgot Your Password
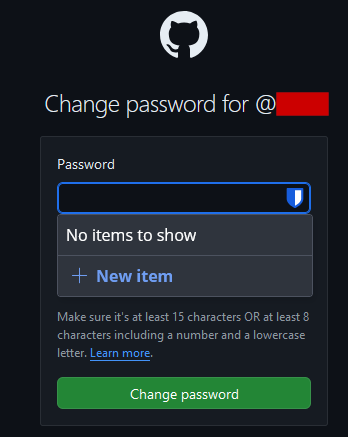
Start the service’s given “forgot password” process. For demonstration purposes, I will be changing my GitHub account’s password. Select the same “+ New Item” option, fill out your account’s username, and generate a password.
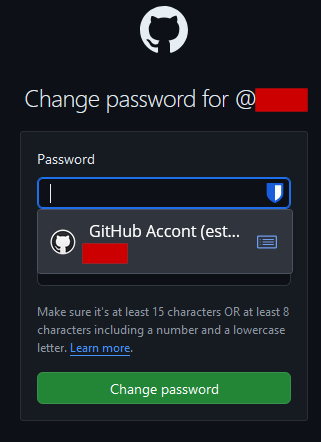
Once you have created the item use Bitwarden’s auto-fill feature to insert the password for us. Select “Change Password” and now the GitHub account’s password is set within our vault. Note, that in some cases you may have to copy and paste the password.
Bitwarden on your Mobile Device
(COMING SOON)
Bitwarden on your phone functions in the same way that it does on your computer. However, we have to enable certain features on the phone for the password manager to work accordingly. Reference the below sections to utilize Bitwarden on your Android or Apple mobile devices.
iPhone
Android
FAQs
coming soon
