Damn Vulnerable AWS (AWSGoat) Setup
Damn Vulnerable AWS (aka AWSGoat) Setup
Damn Vulnerable AWS aka AWSGoat contains two (2) vulnerable by-design AWS infrastructures. This blog post is intended to part one of a two-part series. This post covers the installation and setup, and the second part is a walkthrough for the exploitation pathways for both modules 1 and 2.  AWSGoat Logo
Prerequisites
- GitHub Account
- AWS Account (free trial used for this blog)
- AWS Access Key Creation
Installation
I chose to go with the easy method of setup which requires forking the AWSGoat repository. The following walks through the necessary steps to install AWGoat.
1. Fork AWSGoat
If you do not already have a GitHub account create one, then navigate to the AWSGoat repository. Towards the top of the page select the “Fork” option.
 GitHub: Forking AWSGoat Reposiotry
Give the fork an appropriate name designation (it can be something entirely custom) and leave the “Copy the master branch only” option selected. Then continue by choosing the “Create fork” option in the bottom right corner. We should now have the entire AWSGoat main branch within our repository:  AWSGoat Forked Repo
2. Create an AWS Account
For the initial setup with AWSGoat, I am going to be using AWS’s free trial period, which as AWSGoat states The resources created with the deployment of AWSGoat will not incur any charges if the AWS account is under the free tier/trial period. This is perfect for experimenting with this instance and AWS in general. Navigate to the AWS “Create an AWS Account” page and register your account.
NOTE: If you have already used your AWS free trial period then reference AWSGoat Pricing which outlines the deployment costs.
3. Generate AWS Keys
Once we have an AWS account registered the next step is to create an AWS_ACCESS_KEY and AWS_SECRET_ACCESS_KEY as these are crucial for the setup process.
AWS_ACCESS_KEY= AWS access key associated with an IAM user or role, which is required to connect to Amazon Keyspaces programmatically.AWS_SECRET_ACCESS_KEY= The Secret key associated with the AWS access key, which essentially acts as the password for the access key. This is also required to connect to Amazon Keyspaces Programmatically.
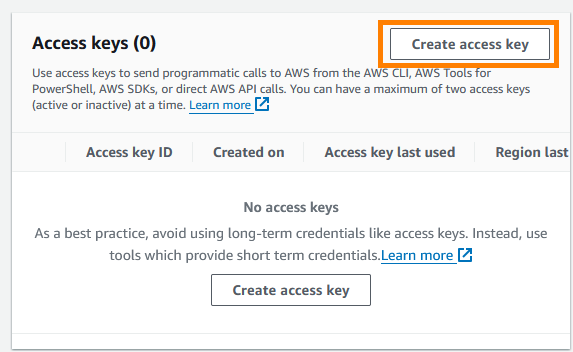
Within the AWS Console in the top-right corner select your account name -> security credentials -> Access Keys -> Create Access Key:
NOTE: When attempting to create an access key for the root user you will receive an alternatives to root user access key notification. Select the “I understand” checkbox and continue with the “Create access key” option.
The reason we are ignoring this is because the AWSGoat project uses GitHub Actions, which for each terraform project GitHub assumes a role that gets only the permissions that particular project needs to create or maintain the infrastructure it manages1. Copy the Access Key and Secret Access Key to a secure location. We will now see the newly created access key populated within the Security Credentials page. 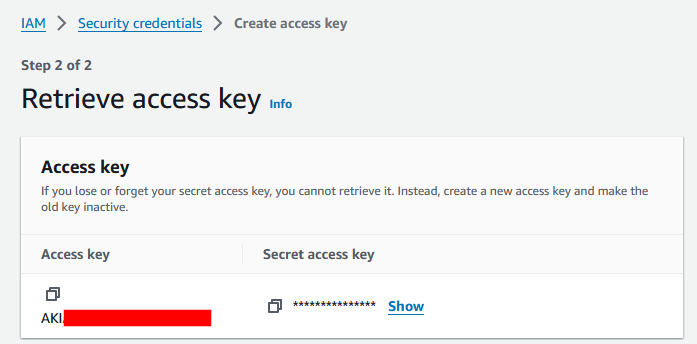 Successful AWS Key Generation
4. Set GitHub Action Secrets
Copy the two (2) AWS access keys we generated, and navigate to our forked AWSGoat repo. To add the Secrets navigate to Settings -> Security -> Actions -> Repository Secrets -> New Repository Secret. Create two (2) repository secrets, one for your AWS_ACCESS_KEY and one for your AWS_SECRET_ACCESS_KEY.  Adding Repository Secrets
  AWS Keys Repository Secrets
5. Run Terraform Apply Workflow
Once all of the above steps have been completed then we can run the Terraform Apply workflow. Within the forked AWSGoat repo navigate to Actions -> Terraform Apply -> Run Workflow. 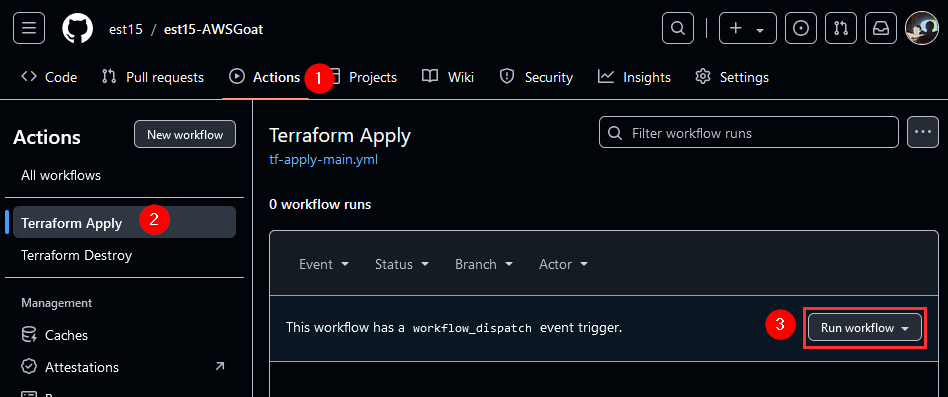 Launching Terraform Apply Workflow
The workflow gives the option to deploy either Module 1 or Module 2 which AWSGoat provides. Reference the Modules section to see a description for each of the two (2) modules. In this case, I opted to deploy Module 1. Once the workflow has been completed select it and navigate to Terraform completed Jobs and under the “Application URL” you will find the generated AWS URL for the AWSGoat application.  AWSGoat Instance URL
The Damn Vulnerable AWS Infrastructure is now ready to be tested and exploited. 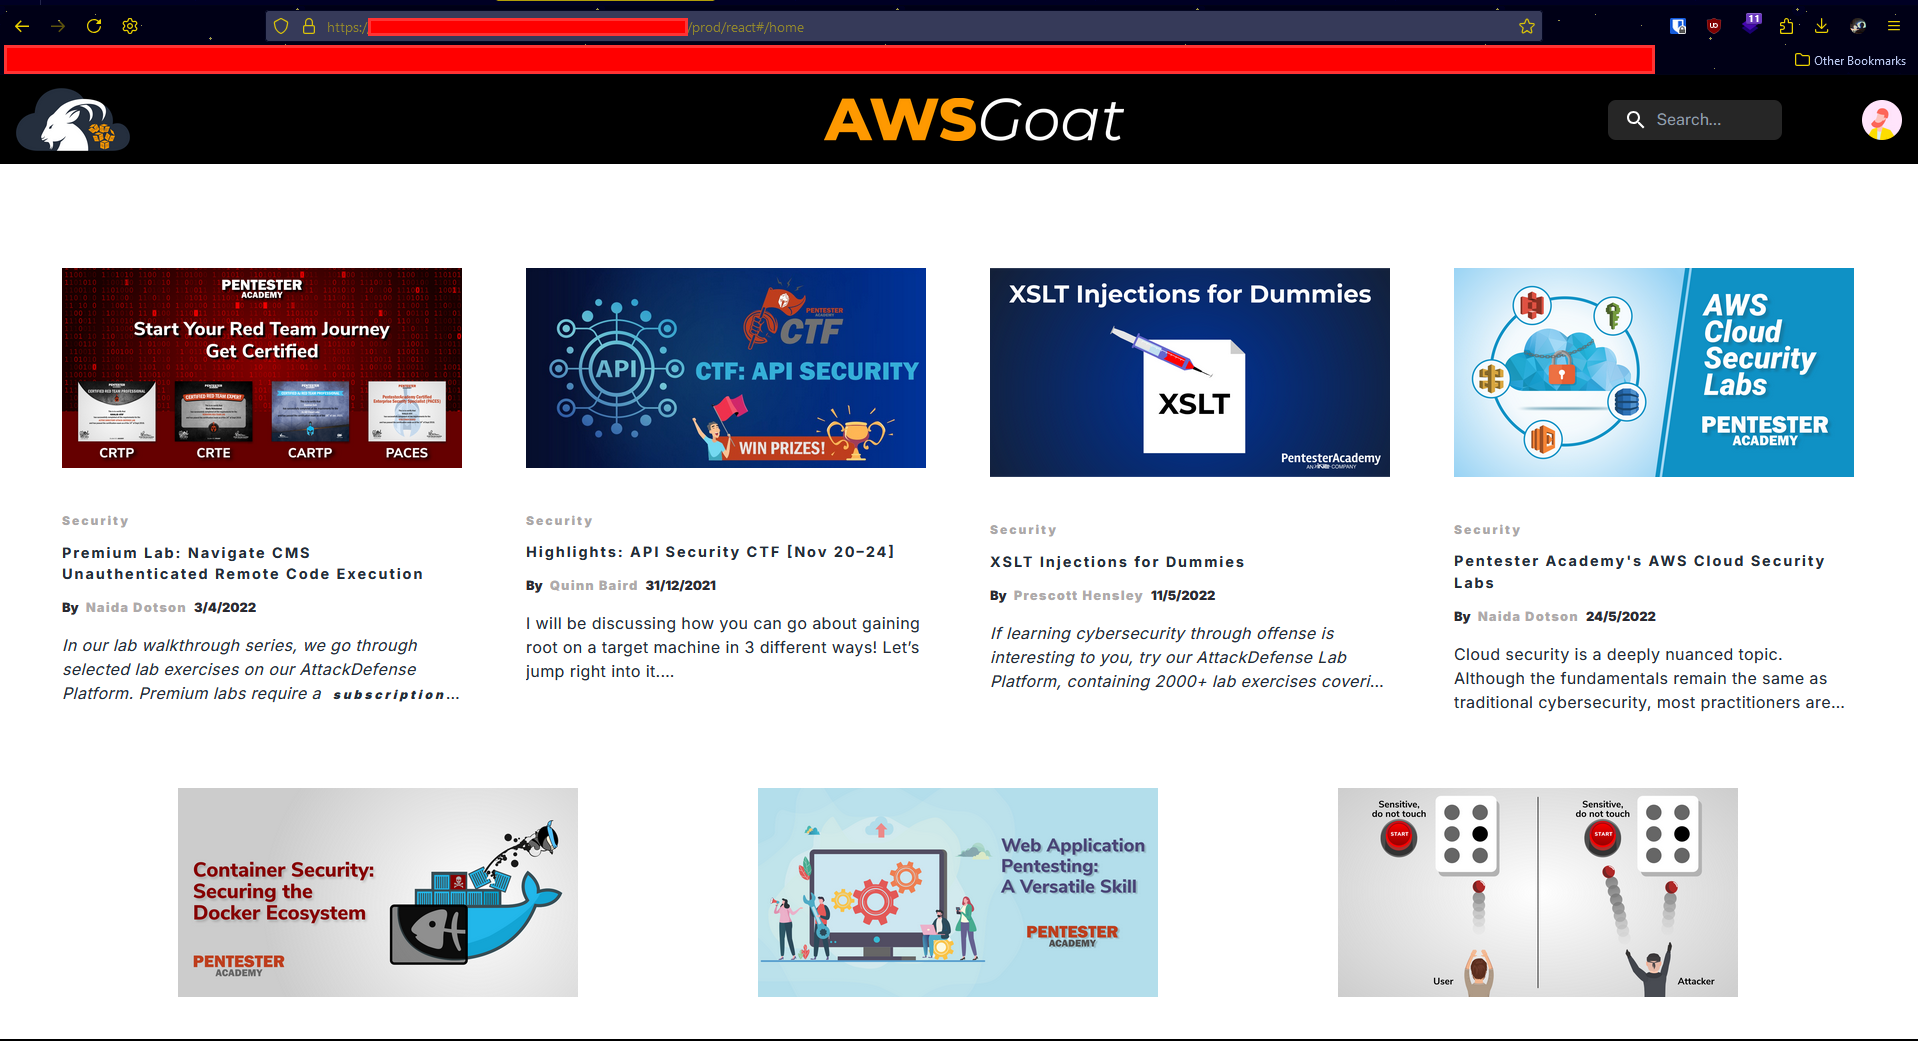 AWSGoat Serverless Blog Application
Removing Deployed Module Infrastructure
AWSGoat also provides a Terraform Destroy workflow which will get rid of the previously deployed module. Within the forked AWSGoat repo navigate to Actions -> Terraform Destroy -> Run Workflow and choose the module that was previously deployed. Once the workflow completes the instance will no longer be accessible / deployed.
References
dijitalmunky ~ Reddit - How do you handle AWS permissions for terraform user? ↩
